Installing MetaUrban
Install MetaUrban
The installation of MetaUrban on different platforms is straightforward and easy! We recommend to use the command following to install:
git clone https://github.com/metadriverse/metaurban.git
cd metaurban

# install metaurban
conda create -n metaurban python=3.9
conda activate metaurban
pip install -e .

# install module ORCA for trajectory generation of pedestrians in urban environments
conda install pybind11 -c conda-forge
cd metaurban/orca_algo && rm -rf build
bash compile.sh && cd ../..

# install the requirements for reinforcement learning, imitation learning and visualization
pip install stable_baselines3 imitation tensorboard wandb scikit-image pyyaml gdown
Note
Using git clone https://github.com/metadriverse/metaurban.git --single-branch
will only pull the main branch and bypass other branches, saving disk space.
Note
cmake, make and gcc are required to compile the ORCA module, please install them first.
Pull assets
After having the source code installed, 3D assets are still required to run MetaUrban. Generally, they will be pulled automatically when you run any MetaUrban program for the first time. But you can still pull the asset manually by:
python -m metaurban.pull_asset
Note
All python -m scripts are supposed to be runnable in all places except in the working direction that has a sub-folder called ./metaurban.
Verify installation
To check whether MetaUrban is successfully installed, please run the following code:
python -m metaurban.tests.test_env.profile_metaurban
This script can also verify the efficiency of MetaUrban through the printed messages. The default observation contains information on ego vehicle’s states, Lidar-like cloud points showing neighboring vehicles, and information about navigation and tasks. If the above observation is not enough for your RL algorithms and you wish to use the Panda3D camera to provide realistic RGB images as the observation, please continue reading this section.
Install MetaUrban with headless rendering
The latest MetaUrban is already built to support headless-rendering. But for a double check, run following command:
python -m metaurban.tests.test_env.verify_headless_env
The script will generate two same images to /path/to/metaurban repo/metaurban/examples, one from agent observation, the other from Panda3D internal rendering buffer.
Please fetch and check those images from cluster to ensure MetaUrban can draw the scene and capture images correctly.
By default, it only generates images from the main camera. Set `--camera [rgb/depth]` to check other cameras.
Also, `--cuda` flag can be added to test image_on_cuda pipeline for your headless machine.
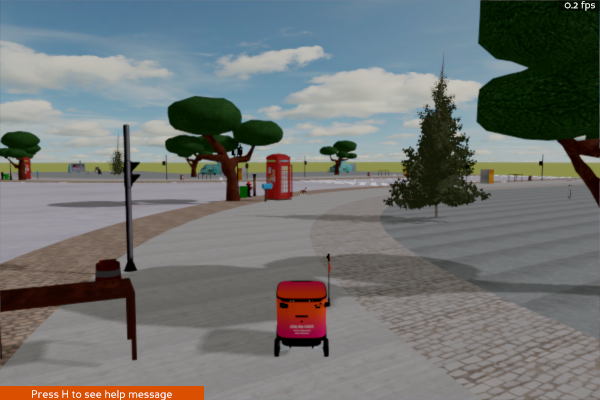
If the captured main camera images look like the following one, then the installation on headless machine is successful.
Known Issues
Note
Run MetaUrban on different platforms
The system is compatible with Linux, Windows (using WSL2), and macOS with Apple Silicon. For optimal performance, we recommend using Linux. Please note that results may vary slightly across platforms.
Note
Run MetaUrban on a machine without monitor / X-server
The system is built based on Panda3D, and the engine may work not as expected on a machine without a monitor or X-server. If you encounter these issues, please add the code as below to warm up the environments:
from metaurban.envs.base_env import BASE_DEFAULT_CONFIG
from metaurban.engine.engine_utils import initialize_engine, close_engine
config_warmup = BASE_DEFAULT_CONFIG.copy()
config_warmup["debug"] = True
initialize_engine(config_warmup)
close_engine()

env = SidewalkStaticMetaUrbanEnv(config)
obs, _ = env.reset()